Radon, the #1 cause of lung cancer in non-smokers, poses a serious yet often overlooked threat, especially here in the Southwest. As a homeowner concerned about your family’s safety, the first step is educating yourself on radon risks is learning how to best prepare for a radon test. Learning about proper radon testing protocol will allow you to take charge of your air quality, ensure accurate test results, and make informed decisions to protect your loved ones if high radon is detected.
Radon & Radon Testing
A radon test is used to detect the presence and measure the levels of radon gas inside a home. Radon is a radioactive gas that originates from the natural decay of uranium in soil and rock. It seeps into homes through small cracks and openings in the foundation, as well as gaps around pipes, wires, sumps, and drains. As the soil underneath a home contains trace uranium, radon gas rises through dirt and permeates the foundation to enter indoor air.
To perform a radon test, a certified Radon Measurement Professional (RMP) places radon detection devices in the lowest occupied level of the home. The most common tests we perform are short-term tests which require leaving the devices in place for 2-90 days (typically 2-4 days). After the testing period, measurement devices are collected and sent off for analysis. If radon levels exceed 4 pCi/L, the EPA action level, steps should be taken to lower concentrations in the home.
5 Steps for Smooth Radon Testing
Proper homeowner preparation before and during testing is vital for accurate results. To ensure your radon test goes smoothly and yields helpful information, follow these simple preparation steps:
What are Closed House Conditions?
A home’s ventilation patterns can significantly influence indoor radon levels throughout a home or commercial structure. Opening doors and windows ventilates radon, lowering concentrations. Closing them traps it inside. These fluctuations make it difficult if not impossible to capture reliable data from radon tests. As such, minimizing these fluctuations is crucial for creating optimal testing conditions and gathering accurate results.
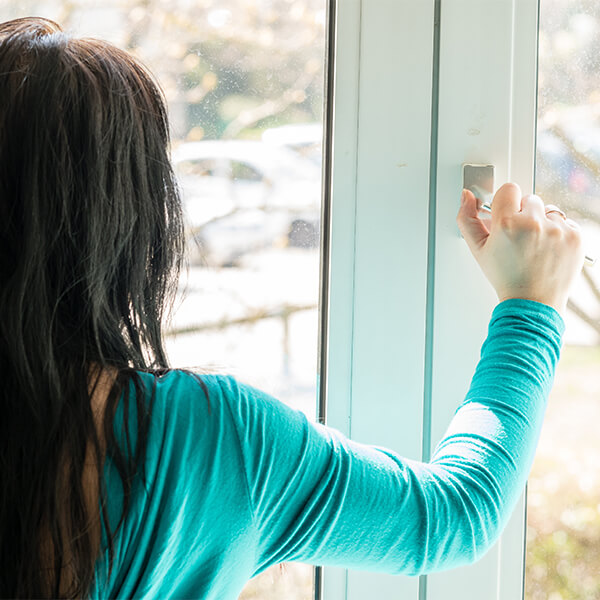
This is why what is known as “Closed House Conditions” are required to ensure the accuracy of a radon test. Closed House Conditions involve keeping all external home openings sealed for at least 12 hours prior to the initiation of a radon test. This helps to reduce outdoor air flow and excessive ventilation, providing a controlled environment to assess the levels of indoor radon more accurately.
Professional Radon Testing
Interested in testing your home for radon? Southwest Radon Eliminators is here to help! Our NRPP certified technicians have the tools, skills, and expertise to perform extremely thorough and accurate short and long-term radon tests. We also install all manner of radon mitigation systems for commercial and residential properties. Contact us today to schedule your test!
